

The Significance of Movement
Of late, I’ve been feeling very stagnant in life. The Significance of Movement hit me one morning when I started realizing how monotony and lack of motion can affect your state of being both mentally and physically. I was quickly able to relate that to how we have come to impart animation and movement digitally to convey ideas and present details to keep things exciting and fluid.
The Realism Paradigm
We strive for things to feel natural in the digital world. So, all natural physics based functions like gravity, collisions, and boundaries move our digital interfaces closer to reality making us feel more comfortable with it. UIKit Dynamics is pretty much an entire physics engine for UIKit which enables us to do these things. Subtle motion, mass to objects and a tiny tug-pull here and there make us feel closer to the interface because of the realism portrayed in it.
The UIKitty Way
UIKit comes bundled with UIKit Dynamics which assists us in delivering experiences that are closer to the natural world using physics. Let’s look at the fundamentals of UIKit dynamics and how to work with the basic classes that it offers.
UIKitDynamicAnimator
UIKitDynamicAnimator is the boss class that manages and orchestrates the animations in a view. It takes a referenceView where the animations will take place. It’s as simple as that.
Behaviors
Different kinds of behaviors can be added to an animator. Simply put, the behaviors added to an animator are respected by the UIKitDynamicAnimator. Behaviors generally are subclasses of UIDynamicBehavior and can be understood as physics that the world conforms to. Kinds of behaviors:
UIAttachmentBehaviorUICollisionBehaviorUIFieldBehaviorUIGravityBehaviorUIPushBehaviorUISnapBehavior
Let’s look at an example of the Gravity Behavior to understand how behaviors work. To understand gravity behavior, let’s build a simple square which will fall from where it’s placed due to gravity behavior.
To begin with, we would need an animator property in the View Controller class we’ll be implementing this animation:
1var animator: UIDynamicAnimator!
In the viewDidLoad method, let’s initialize the animator with a reference view, in this case, we’ll use our view property since we’ll be performing all animations in the primary view of the view controller:
1animator = UIDynamicAnimator(referenceView: view)
Now that we have an animator we could use to perform dynamic animations, we could go on to add behaviors to the animator. But before that, let’s add a box on which we will see how the gravity behavior works.
In the viewDidLoad method, let’s go ahead and add a 2D box:
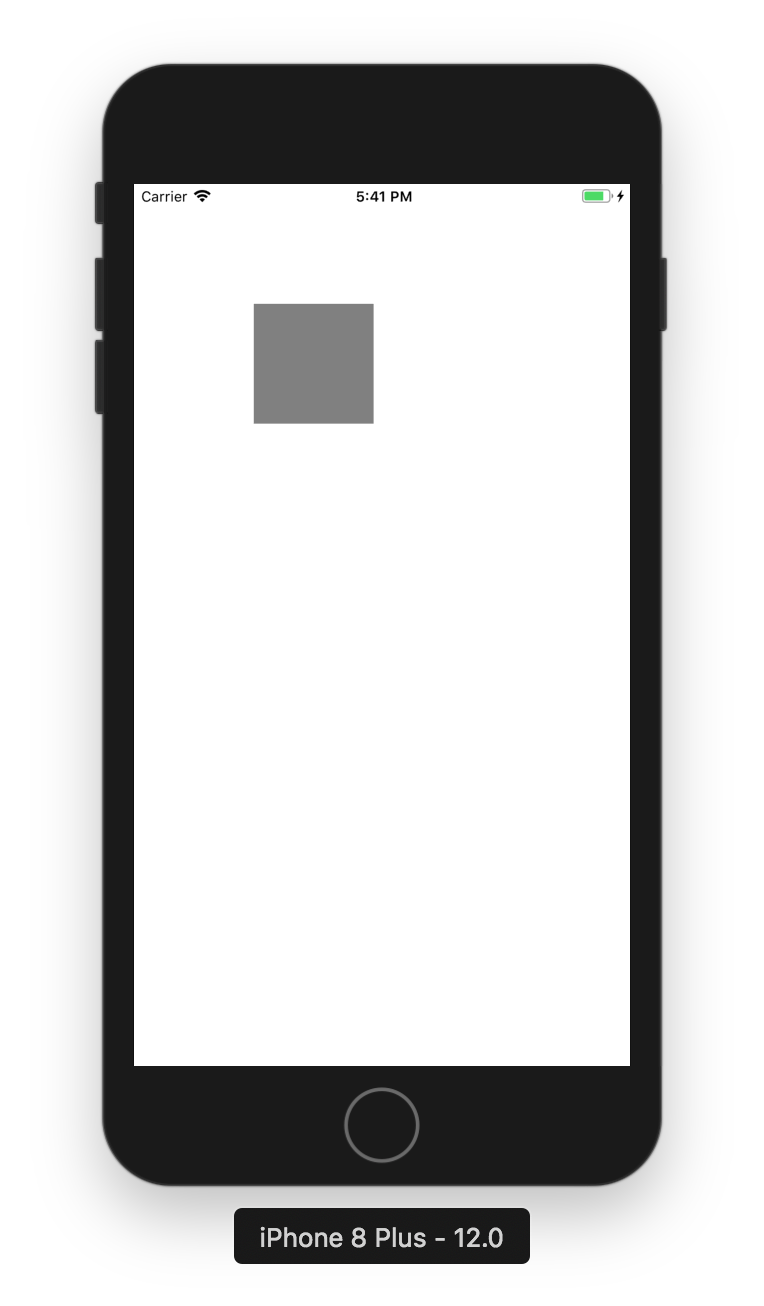
1let box = UIView(frame: CGRect(x: 100, y: 100, width: 100, height: 100))2box.backgroundColor = .gray3view.addSubview(box)
You should now have a box that looks like this:
Now we have it all set up, we could understand behaviors by adding one. Since the View Controller has animations, it’s a good practice to declare the animators and behaviors in a single place on the top level scope. Let’s go ahead an declare a gravity behavior next to our animator:
1var animator: UIDynamicAnimator!2var gravityBehavior: UIGravityBehavior!
It’s important to understand that Behaviors are *bound to*items and can be added to an animator. Items are objects that implement the UIDynamicItem protocol. The UIView and UICollectionViewLayoutAttributes implement this protocol already, so simply by using UIViews as our items, we are able to bind it to behaviors.
Since a behaviour is bound to items, while initialising a behaviour we pass in an array of items that will respect this behaviour. Let’s do that after our box is initialised in viewDidLoad:
1// Setup a Box2let box = UIView(frame: CGRect(x: 100, y: 100, width: 100, height: 100))`3box.backgroundColor = .gray4view.addSubview(box)56// Initialize Gravity Behavior7gravityBehavior = UIGravityBehavior(items: [box])
What happens here is quite straightforward. Now that we have set up our animator and a behavior. All there’s left to do is binding this behavior to our animator:
1animator.addBehavior(gravity)
Doing this, we see how the box starts to fall down because of the gravity behavior that we’ve just added.
Collisions and Boundaries
We now see how the gravity behavior makes the square fall indefinitely. It would be nice if it could consider the bottom of the screen as a floor, wouldn’t it?
Collision Behaviors help us define how objects interact with each other. This kind of sounds like what we need at the moment. By defining a collision behavior, we could define a boundary around each item the object is associated with.
In our case, we would need to define our boundary around the box that’s falling indefinitely. Boundaries are defined using a path, UIBezierPath to be specific, using this method:
1collision.addBoundaryWithIdentifier(forPath:)
Let’s begin by defining a collision behavior:
1var animator: UIDynamicAnimator!2var gravityBehavior: UIGravityBehavior!3var collisionBehavior: UICollisionBehavior!
Since our box is going to function inside of our reference view boundaries, there’s a handy property on collision behavior object called translatesReferenceBoundsIntoBoundary which when set to true, takes care of setting our view’s bounds as the boundary for the behavior. Handy, isn’t it?
Let’s do just that:
1// Setup a Box2let box = UIView(frame: CGRect(x: 100, y: 100, width: 100, height: 100))3box.backgroundColor = .gray4view.addSubview(box)56// Initialize Gravity Behavior7gravityBehavior = UIGravityBehavior(items: [box])89// Collision10collisionBehavior = UICollisionBehavior(items: [box])11collisionBehavior.translatesReferenceBoundsIntoBoundary = true1213animator.addBehavior(gravityBehavior)14animator.addBehavior(collisionBehavior)
This would give us something like this:
There are a lot more behaviors that we could take advantage of to write intuitive and exciting apps.
What’s the fun in making a box fall, you ask? Say no more. Let’s put what we’ve learned to good use by building a UI.
Let’s get swiping
What we’ll be building:
There are two parts to building this UI:
- Build a Draggable Card View
- Make it snap back to its position
Building a Draggable Card View
Building a draggable card is just a matter of adding a UIView, and implementing a pan gesture recogniser. Assuming we’ve already setup our view (lets call it card) in the storyboard and hooked it up to the View Controller. We can add and implement a Pan Gesture Recognizer:
1let panGesture = UIPanGestureRecognizer(target: self, action: #selector(pan))2card.addGestureRecognizer(panGesture)3card.isUserInteractionEnabled = true45@objc func pan(recognizer: UIPanGestureRecognizer) {6 switch recognizer.state {7 case .changed:8 let translation = recognizer.translation(in: view)9 card.center = CGPoint(x: card.center.x + translation.x,10 y: card.center.y + translation.y)11 recognizer.setTranslation(.zero, in: view)12 default: break13 }14}
Here we use a pan gesture to implement dragging on the card, by getting the current translation in view and using the translation to set the card’s position as the finger is dragged. The pan(recognizer:) is called continuously with the state .changed when the finger is dragged across the screen which changes the card’s position continuously.
We would get something like this:
Make it Snap
Now that we have a draggable view, let’s move on to building the snap behavior. We’ll use the UISnapBehavior class to implement this.
The two essential things out of our UIKit Dynamics backpack are:
- Animator
- Behavior
To begin with, we will declare an animator property like earlier in the class and initialize it with the primary view in the viewDidLoad method.
Next comes the snap behavior, The UISnapBehavior class takes in two parameters when instantiating an object:
item- This is the item which it acts on, in our case, it will becardsnapTo- This is aCGPointparameter, which defines where the item will snap to when it’s dragged, in our case, it will beview.centersince we would like it to snap back to the view’s center
Initializing the snap behavior and adding it to the animator would be a straightforward process since we’ve gone through something similar already:
1var animator: UIDynamicAnimator!2var snapBehavior: UISnapBehavior!34@IBOutlet var card: UIView!56override func viewDidLoad() {7 super.viewDidLoad()8 animator = UIDynamicAnimator(referenceView: view)9 snapBehavior = UISnapBehavior(item: card, snapTo: view.center)10 animator.addBehavior(snapBehavior)11}
But this alone will not make the snap behavior work, this is because even though our snap behavior is in place, the pan gesture recognizer takes over moving the card just like before with no regard to the behavior. To be able to fix this, we need to remove the behavior on dragging and re-add it when the gesture has ended. This can be done easily thanks to recognizer states:
1@objc func pan(recognizer: UIPanGestureRecognizer) {2 switch recognizer.state {3 case .began:4 animator.removeBehavior(snapBehavior)5 case .changed:6 let translation = recognizer.translation(in: view)7 cardView.center = CGPoint(x: cardView.center.x + translation.x,8 y: cardView.center.y + translation.y)9 recognizer.setTranslation(.zero, in: view)10 case .ended, .cancelled, .failed:11 animator.addBehavior(snapBehavior)12 default:13 break14 }15}
Now this should give us the snap behaviour we’re expecting:
—
This is a primer to get someone with no prior experience in UIKit Dynamics off the ground and doesn’t cover all of what UIKit Dynamics is capable of. I highly recommend going through Apple’s Developer documentation on the subject and playing with all kinds of behaviors to fully appreciate what UIKit Dynamics can do.
All kinds of feedback and questions are welcome.
—
Thanks to Raul’s article on UIKit Dynamics where his approach to explaining UISnapBehavior is on point, which I have borrowed.

